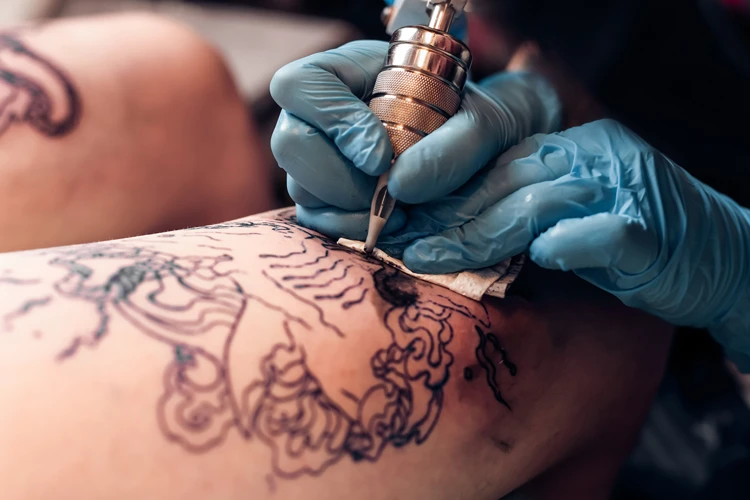
If you are a tattoo artist, then it is essential to learn how to sterilize tattoo needles. Taking the necessary precautions to ensure that your tattoo needles are completely sterile is a crucial part of tattooing. In this guide, we will discuss the different sterilization methods, the materials needed, and the importance of sterilizing tattoo needles. We will also go over the steps you should take to ensure the safety of yourself and your clients. By the end of this guide, you’ll be able to effectively sterilize your tattoo needles and create a safe and sanitary working environment.
Contents
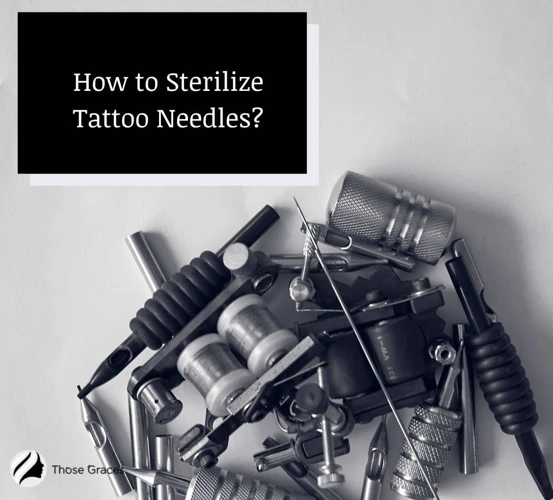
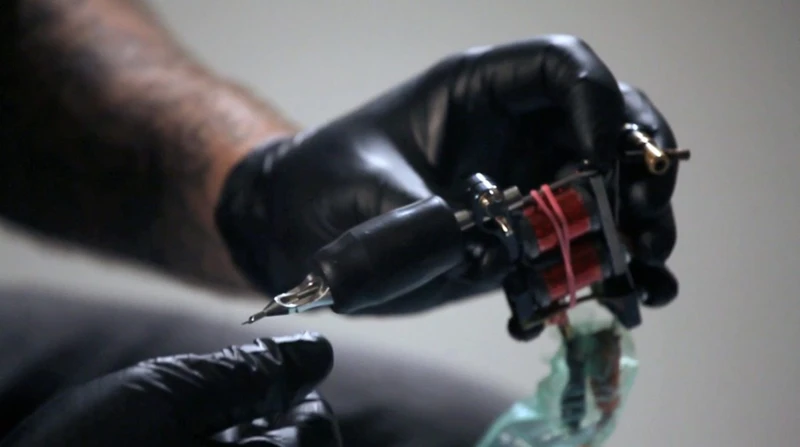
How to Sterilize Tattoo Needles
Preparation
Before beginning the process of sterilizing needles, it is important to ensure that the tattoo artist has the right supplies. This includes disposable gloves, a clean surface, sterile gauze, and a container with an autoclave-safe lid. Additionally, all needles should be used once and then disposed of properly.
Steps
Step 1: Disassemble the tattoo gun and needles and place the parts in a container with an autoclave-safe lid.
Step 2: Place the container in a pressure cooker or autoclave and set the temperature to 250°F (121°C).
Step 3: Allow the container to remain in the autoclave for at least 30 minutes, or until the needles are completely sterilized.
Step 4: Remove the container from the autoclave and allow it to cool down completely.
Step 5: Reassemble the tattoo gun and needles, taking care to ensure that all parts are sterile.
Step 6: Dispose of all materials used in the sterilization process.
By following these steps, tattooists can ensure that their needles are properly sterilized and ready for use. This is an essential part of maintaining a safe and hygienic environment when performing a tattoo.
How to Clean Tattoo Gun
Preparation
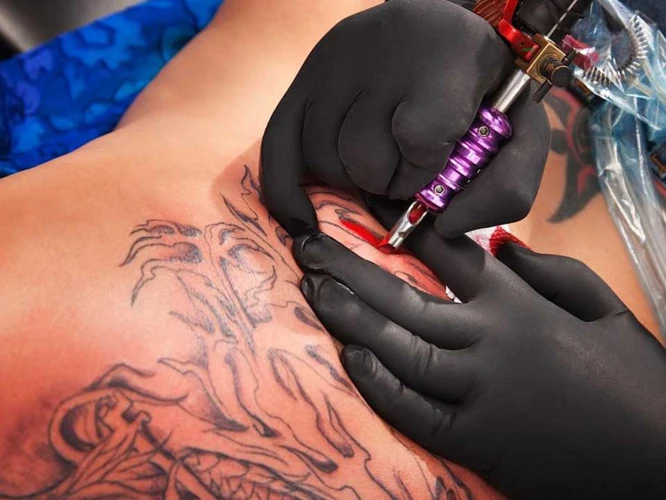
Tattooing is a great way to express yourself, but it’s important to know how to sterilize tattoo equipment to protect yourself and your clients. Cleaning and sterilizing tattoo equipment is essential for a safe, hygienic tattooing experience.
Steps
The first step in cleaning a tattoo gun is to remove the tattoo needle from the gun. Wipe the needle and gun down with a clean, disposable cloth to remove any excess ink. Dispose of the cloth in a medical waste container. Use a medical-grade cleaner to thoroughly clean the gun, taking care to get into the nooks and crannies. Make sure the gun is completely clean before reattaching the needle.
Once the gun is clean, you can begin sterilizing it. You can sterilize tattoo equipment at home without an autoclave by using a chemical sterilant. Follow the instructions on the package, making sure to wear the appropriate protective gear and to keep the sterilant out of your eyes and mouth.
Once the gun is sterilized, you should store it in a clean, dry container. This will help ensure that your tattoo gun is always ready for use.
Taking the time to properly clean and sterilize your tattoo gun will help protect you and your clients from the spread of infection, and will ensure that your tattoos look their best.
How to Sterilize Tattoo Equipment at Home Without an Autoclave
Preparation
Gather all the necessary equipment: disposable gloves, a new needle, rubbing alcohol, a container, and a lighter. Make sure all of your materials are clean and disinfected.
Steps
Step 1: Begin by putting on your disposable gloves. Make sure your hands are clean and sanitized.
Step 2: Put the new needle into the container and fill it with rubbing alcohol. Make sure that the needle is completely submerged in the alcohol.
Step 3: Place the container on a heat-resistant surface and light the lighter. Hold the flame over the container for a few seconds, until the alcohol is at a rolling boil.
Step 4: Allow the alcohol to boil for at least 10 minutes. This will ensure that the needle is properly sterilized.
Step 5: After 10 minutes, turn off the heat and allow the needle to cool. Once the needle is cool, it is ready to be used for your next tattoo.
Step 6: Dispose of the container and the used needle in a safe, sanitary manner.
This method is an effective way to sterilize your tattoo equipment without an autoclave. However, it is important to remember to use proper safety precautions when using a lighter and rubbing alcohol. Additionally, if you are looking for a more thorough method of cleaning and sterilizing your rotary tattoo machine, we recommend using a specialized cleaning solution specifically designed for tattoo machines.
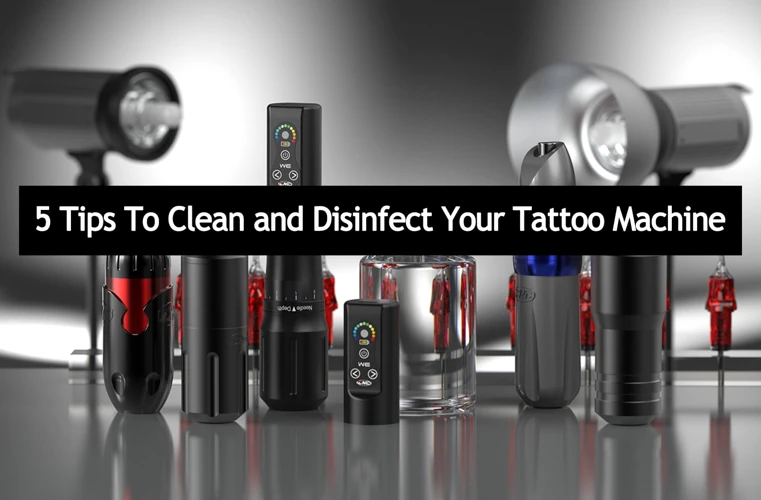
How to Clean Rotary Tattoo Machine
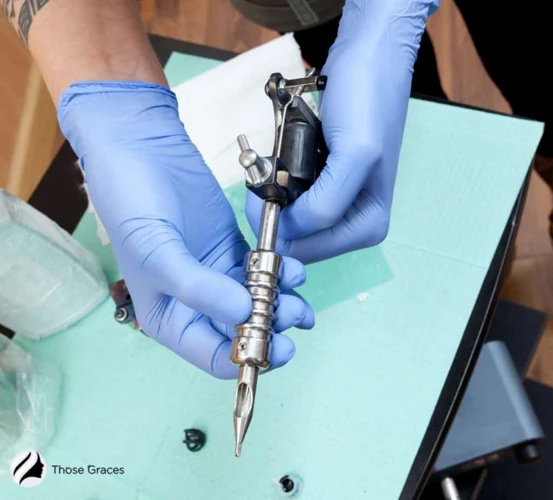
Preparation
Disconnect the machine from the power source and remove any attachments and accessories. Check the user’s manual to find out the right way of disassembling the machine. Clean the machine with a soft cloth dampened with warm water.
Steps
Use a disposable cleaning brush to remove any dirt, dust or other debris from the individual parts of the machine. Use a clean, damp cloth to wipe down the machine. Make sure that all parts of the machine are dry before reassembling. To sterilize the tattoo machine and its parts at home, use a home sterilizer or an autoclave. Follow the instructions provided by the manufacturer for the best results.
Once the machine is reassembled, it is important to test it for proper functioning. Make sure that the machine is running smoothly and there are no issues with the needle movement. Once you are satisfied with the results, you can start using your tattoo machine again.
By following these steps, you can easily sterilize your tattoo machine and its parts at home. This will ensure that the machine is free of any bacteria or germs, thus ensuring the safety of both the tattooist and the client.
How to Sterilize Tattoo Equipment at Home
Preparation
Before starting to sterilize your tattoo equipment, you should make sure you have the necessary supplies. You will need a pressure cooker, a pair of sterilized tweezers, a pair of latex gloves, a pair of sterilized pliers, a couple of clean rags, and a bottle of isopropyl alcohol.
Steps
Step 1: Put your tattoo needles and grips into the pressure cooker. Make sure that the needles are completely submerged in the boiling water. Boil them for at least thirty minutes.
Step 2: Take the needles out of the pressure cooker and place them on a clean rag. Use the tweezers to make sure that the needles are completely dry.
Step 3: Put on your latex gloves and use the sterilized pliers to carefully remove any excess ink or rust from the needles.
Step 4: Dip the needles in the isopropyl alcohol to disinfect them. Let them sit in the alcohol for at least two minutes.
Step 5: Remove the needles from the alcohol and place them on a clean rag to dry. Make sure that they are completely dry before storing them.
Step 6: Store the needles in a clean, dry place until you need them again.
Sterilizing your tattoo equipment is essential for maintaining a safe and sanitary environment for both you and your clients. By following these steps, you can easily sterilize your tattoo needles and grips at home. Additionally, you can use the same steps to clean and sterilize your tattoo pen.
How to Clean Tattoo Pen
Preparation
Before attempting to clean a tattoo pen, it is important to have the right materials and supplies on hand. Gather the following items:
- Rubbing alcohol
- Soft cloths or paper towels
- Cotton swabs
- Barrier film (e.g. latex or nitrile gloves)
- Dish soap
Steps
1. Cleaning the Pen – Before beginning to clean the pen, be sure to wear gloves for proper protection. Begin by wiping down the exterior of the pen with a soft cloth and rubbing alcohol. This will remove any dirt or debris that has accumulated on the pen.
2. Disinfecting the Pen – Once the exterior of the pen has been cleaned, use a cotton swab and rubbing alcohol to disinfect the inside of the pen. Be sure to pay close attention to any nooks and crannies, ensuring that all areas are completely disinfected.
3. Soaking the Pen – After the pen has been disinfected, it should be soaked in a solution of warm water and dish soap. Allow the pen to soak for at least 10 minutes, then rinse with clean water.
4. Drying the Pen – Once the pen has been rinsed, it should be dried with a soft cloth or paper towel. Be sure to pay special attention to any crevices or hard-to-reach areas.
5. Final Disinfection – Finally, the pen should be disinfected once more with rubbing alcohol and a cotton swab. This will ensure that the pen is completely sterile and ready for use.
By following these steps, tattooists can ensure that their tattoo pens are properly and safely sterilized. Cleaning and sterilizing tattoo needles is an important part of the tattooing process and can help to prevent infections and other complications. For those who are looking to sterilize tattoo needles at home, following the steps outlined above is a great way to do so.
How to Autoclave Tattoo Equipment
Preparation
Before autoclaving your tattoo equipment, it is essential to ensure that all equipment is properly cleaned. All surfaces should be wiped down with a disinfectant, paying special attention to any nooks and crannies that may harbor bacteria or other germs. After cleaning, all equipment should be placed onto a tray or in a container that will fit into the autoclave.
Steps
Step 1: Start by turning on the autoclave and setting the cycle for sterilization. Make sure to check the manufacturer’s instructions for the exact cycle settings.
Step 2: Place the tray or container containing the tattoo equipment into the autoclave. Close the door, if applicable.
Step 3: Turn the timer to the desired setting. The timer will start counting down once the cycle has started.
Step 4: Once the cycle has finished, the autoclave will give an audible warning. Open the door and remove the tray or container containing the sterilized equipment.
Step 5: Allow the equipment to cool before handling. The sterilized equipment is now safe to use.
Autoclaving is the most effective and reliable method of sterilizing tattoo equipment. Following these steps will ensure that the equipment is properly sterilized and ready to be used.
Frequently Asked Questions
What type of sterilization methods should be used for tattoo needles?
Tattoo needles must be sterilized before each use to reduce the risk of infection and cross-contamination. Autoclaving is the most reliable method of sterilization as it kills all types of microorganisms, including spores. Autoclaving requires specialized equipment, however, and requires that instruments be sealed in sterilization pouches or containers. Other methods of sterilization include chemical disinfection with EPA-registered hospital disinfectants, dry heat sterilization, and ultrasonic cleaning.
What is the Best Way to Store Sterilized Needles?
Sterilized needles should be stored in a clean, dry container that is impermeable to air and light. Needles should never be stored in a damp or moist environment as this can lead to microbial contamination. The container should also be labeled clearly with the date of sterilization and expiration date. Needles should be stored in a secure, lockable area where only authorized personnel can access them. Needles should be stored away from direct sunlight and sources of heat and cold to avoid any damage. Finally, needles should only be used one time and should be discarded immediately after use.
How often should tattoo needles be sterilized?
Tattoo needles should be sterilized with every use, before and after every tattoo session. Even if the same client is coming back for a second session, the needles should still be sterilized to ensure that the procedure is both safe and hygienic.
What Type of Safety Precautions Should Be Taken When Sterilizing Needles?
It is essential to take safety precautions when sterilizing needles to ensure they are properly sanitized and free of infectious bacteria. Wear gloves and protective eyewear to prevent contact with any bodily fluids. Make sure needles are placed in a sterilization pouch and sealed before putting in an autoclave. Clean the surface of the sterilizing container with 70% isopropyl alcohol before adding water and needles to prevent cross-contamination. Additionally, check the temperature and pressure readings on the autoclave to ensure they meet the manufacturer’s standards. Finally, label the sterilized needles and store them in a clean, dry area away from other equipment.
Are there any risks associated with using non-sterilized needles?
Yes. Non-sterilized needles can pose serious risks to both the tattoo artist and the client. These include:
- Infection: Non-sterilized needles can introduce bacteria and other pathogens into the skin, leading to infection.
- Blood-borne illnesses: Non-sterilized needles can transmit blood-borne illnesses such as HIV, hepatitis B and C, and other diseases.
- Allergic reactions: Non-sterilized needles may contain traces of latex, which can cause an allergic reaction in some people.
- Unwanted reactions: Non-sterilized needles may cause unwanted reactions such as redness, swelling, and pain.
By properly sterilizing tattoo needles, tattooists can ensure the safety of their clients and the quality of the tattoo.
Conclusion
Tattooists must take sterilization seriously and take the necessary precautions to ensure the safety of their clients. Following the guidelines outlined in this article is essential to sterilizing tattoo needles correctly. By doing so, tattooists can provide their clients with the safest, most hygienic experience possible.